Getting Started
If you wanna to use wangEditor in Vue or React, please read this article first, then check this article.
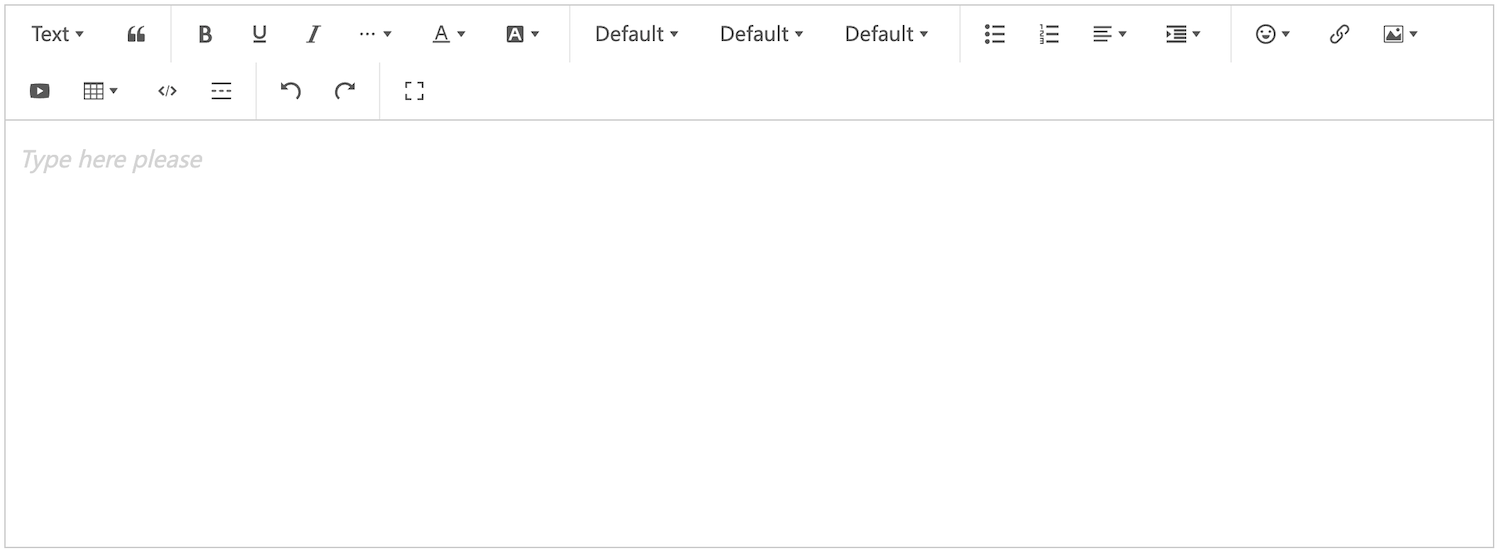
Create Empty Editor
You can see demo page source code.
Import CSS and define style
<link href="https://unpkg.com/@wangeditor/editor@latest/dist/css/style.css" rel="stylesheet">
<style>
  #editor—wrapper {
    border: 1px solid #ccc;
    z-index: 100; /* If you need */
  }
  #toolbar-container { border-bottom: 1px solid #ccc; }
  #editor-container { height: 500px; }
</style>
Define Html Code
<div id="editor—wrapper">
    <div id="toolbar-container"><!-- toolbar --></div>
    <div id="editor-container"><!-- editor --></div>
</div>
TIP
- If you need full-screen function,
toolbar-containerandeditor-containermust have a same parent node. - You can separate
toolbar-containerandeditor-container, e.g. simulate Google doc editor.
Import JS and create editor
<script src="https://unpkg.com/@wangeditor/editor@latest/dist/index.js"></script>
<script>
const { createEditor, createToolbar } = window.wangEditor

const editorConfig = {
    placeholder: 'Type here...',
    onChange(editor) {
      const html = editor.getHtml()
      console.log('editor content', html)
      // You can sync HTML to <textarea>
    }
}

const editor = createEditor({
    selector: '#editor-container',
    html: '<p><br></p>',
    config: editorConfig,
    mode: 'default', // or 'simple'
})

const toolbarConfig = {}

const toolbar = createToolbar({
    editor,
    selector: '#toolbar-container',
    config: toolbarConfig,
    mode: 'default', // or 'simple'
})
</script>
TIP
With the simple code above, you will create a basic editor.
Next Todo
If you want a completed editor, you may need to the following work
- Handle content - Get content, set content, render content
- Toolbar config - Insert a new menu, exclude some menus
- Editor config - Editor life-cycles, custom paste event
- Menu config - Config colors font-size font-family, config upload image
- Editor API - Control editor content and session